Entries in recipe (502)

Thursday
Jan212016

trying to make thick ramen noodles

I know ramen is an in thing but we have been eating it for a long time.  Actually, noodles are a favorite in almost any form you can find them.  In mid-December, a ramen resturaunt was tried.  I would definitely go back if the opportunity presented itself but ramen is made in my kitchen.  The one thing that I had that I really liked was a thick ramen noodle.  I realized I needed to learn how to make those thick noodles because you cannot buy them in the stores closest too me.  Good ramen noodles can be purchased but not good thick ramen noodles.

Now, I do make Italian pasta so the idea of making my own ramen noodles was not daunting.  I found a recipe on the the Lucky Peach  blog so I decided to give it a try to get the thickness I wanted.  Ramen noodles are not much different then Italian pasta if it is not an egg pasta.  Baked baking soda is used to make them alkaline which changes the color and taste a bit.

The result was too thick!  But I was using a knife instead of a pasta cutter or stretching them.  I think I am on the right track.  Next time, I will cut them thinner.

There will be a next time.

homemade ramen noodles

Note:  I am using the recipe from the Lucky Peach.  Good directions, good pictures.  I am just trying to change the size:  thick noodles!

3 cups flour

1/2 cup baked baking soda

1/2 cup warm water, tap is fine

1/2 cup cold water, tap is fine

To bake the baking soda, spread the baking soda on a foiled lined baking sheet.  Bake at 250 degrees Fahrenheit for one hour.  Store in a jar for use.  

Dissolve 4 teaspoons of the baked baking soda in the warm water in a large bowl.  Mix in the cold water.  Mix in the flour.  Turn the dough out and knead for five minutes.  The recipe says that this will be a difficult pebbly dough but maybe I make too much bread and pasta because I did not think so.

Let the dough rest for 20 minutes wrapped in cling film on the counter.  Knead for five more minutes and rewrap.  Put in the refrigerator for one hour.

Portion the dough into four or six portions.  Roll out until it is as thick as you wish.  Thin or thick.  Cut noodles.  Dust with flour so that the noodles do not stick together.

Cook in a large pot of boiling water until done, two to three minutes.  Drain and pour hot broth over with anything you wish to eat on your ramen.

Yum!  Next time, not quite as thick.

Wednesday
Jan202016

malasadas

Miss A was having a tough week and she texted me saying maybe we should celebrate Epiphany with malasadas.  I did not have a clue what these were but I said yes.  What is more yeastie beasties and boiling fat in my life?

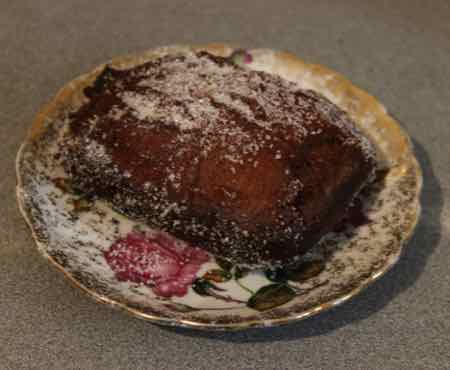
The malasadas are a doughnut type pastry made in Hawaii.  Shaped very similarly to a beignet.  They are pretty good.  I did tweak them with sourdough, a bit of heavy whipping cream, and a tad of whole wheat flour.  Actually, I did not use any true white flour which is the reasons they are so dark.  I only have heritage flours in the house currently and nothing is bleached.

I also tried my best to screw up this recipe.  I do not know why but every time I turned around, I did something wrong.  Even being that distracted, these turned out well.  I did make the whole recipe and it does make twelve large doughnut type pastries.  It is a good thing if you have a backyard full of boyos (who wondered why these have not been in their lives before) or cut the recipe down.

malasadas

Note:  I modified the recipe from Saveur to use sourdough.  I am also keeping some of my screw ups.

sourdough starter

1 cup whole wheat flour 

about 3/4 cup water

3/4 cup sugar

3 eggs

2 tablespoons butter, melted

1/2 cup milk

1/2 cup heavy whipping cream

1/4 teaspoon salt

4 cups flour

oil for frying

sugar for dusting, we used both granulated which is authentic and powdered

The night before you wish to make the pastries, mix the starter, 1 cup flour, and 3/4 cup water in a large bowl.  Cover and let become bubbly.

When ready to start the next day, save a couple tablespoons of starter for the next baking.

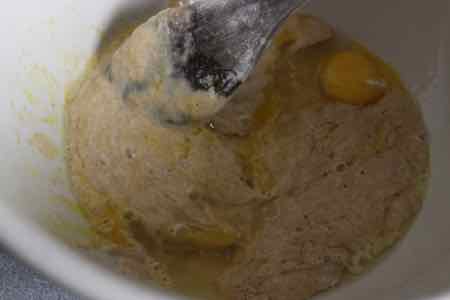
Mix in the eggs, 3/4 cup sugar, butter, milk, whipping cream, and salt.  Mix in the flour and beat until smooth.  This is a very soft dough.  Cover with plastic wrap but do not seal.  Let rise until double.

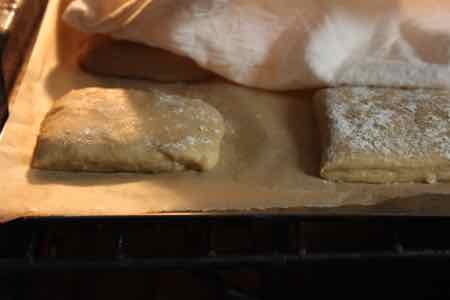
When the dough has risen to double, roll the dough in about a twelve inch square that is about 1/2 inch thick.  Cut the dough into 3 inch squares.  If you have any extras, you can roll the dough out again and cut it.  This next part is key:  place on a buttered parchment paper about three inches apart.  Cover and let proof in a warm place for about an hour.

Put the oil in a pot for frying.  Bring it up to 350 degrees Fahrenheit.  Put about a cup of either sugar in a large bowl and set aside.  When the oil is up to heat, cut the parchment between the pastries, leaving a border that is large enough to hold.  Put the pastries in the oil paper side up.  The recipe suggested to use tongs but I used my fingers to put the pastries in the oil and gently peel the parchment off.  The dough is this soft.  Cook and flip once.  They should be puffy and golden, two to three minutes per side.  When warm, put in the bowl with sugar and toss.

I will need to make these again soon.  The boyos will be pleased and Miss A will need a call.  They were very much a hit.

Friday
Jan152016

these shoes are made for walking

I may have mentioned that I am walking more.  Walking more not as part of a resolution but so I can be prepared for adventuring.  Wahoo!  The pair of shoes on the left are my every day but Sunday walking shoes.  The pair on the right are my Sunday walking shoes.  When they do not feel the same, it is time to make the Sunday shoes every day shoes and to get a new pair of Sunday shoes. 

Now, after work I feel the need for something a little bit decadent.  I have been taking tea and cookies on my walks.  I have a Yeti cup so that works well.  And I found that the sugar cookie recipe I used for the hedgehog cookies seem to stand up well to being put in a pocket for a few minutes.  Yes, I do things like that.

I come home.  Take the dough out of the refrigerator, roll out a few cookies, bake.  On my way.  I decided to try this recipe in the first place because my sugar cookie dough for the cookie decorating parties makes enough cookies for an army of boyos even when you cut it in half.  This one makes enough for a few days for me.  It almost takes like a shortbread but a shortbread would crumble in my pocket.  There is no reason that I would know this (cough, cough).  This is not a sweet cookie because it is made for frosting but I like them plain.  They also make really nice hedgehogs!

walking cookies

Note:  based on this Bon Appetit cookie but I tweaked due to the half batch, and my tastes.  Also, my total dislike of baking powder.  I can almost always taste it when used.

4/06/2016 I modified these with 2 teaspoons of cardamom.  So good.  I started with 1/2 teaspoon and worked up until I could taste the cardamom.  It will depend on what your want to taste and how fresh your cardamom is for the amount needs.

10 tablespoons room temperature butter

1/2 cup sugar

1 teaspoon vanilla

1 egg

1 1/2 cups flour

1/2 teaspoon salt

1/8 teaspoon baking soda

1/8 teaspoon cream of tartar

Cream the butter and sugar together until fluffy.  Mix in the egg and vanilla.  Mix in the flour, salt, baking soda, and cream of tartar.  Bring into a ball and wrap in plastic wrap for at least 30 minutes or until you are ready to roll out.

When you are ready to roll the cookies out, preheat oven to 325 degrees Fahrenheit.  Cover a baking sheet with parchment paper or a silpat.

Lightly flour a clean surface.  I usually only roll a portion of the dough for a few cookies but feel free to roll it all if you wish.  Roll it out to about 3/8 of an inch thick.  Cut out with a cutter.  I use circles on a day to day basis.  Put on the baking sheet.

Bake for 12 minutes.

I usually pick up a few while they are warm to take walking with me.  On days I walk home from work, I miss my tea and cookies. 

Simple things.

Monday
Jan112016

simplest mango sorbet

I was listening to the audiobook Recipes for Love and Murder while I was sewing.  The heroine writes recipes and an advice column.  One of the first recipes she shared was for a mango sorbet.

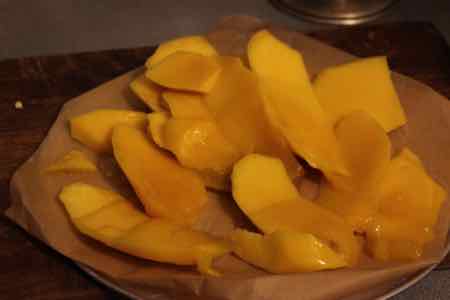
It was so simple and it was read.  Peel and pit a mango.  Slice it so it freezes evenly.  Freeze until not hard frozen.  Blend with a bit of lime juice.  Sorbet.

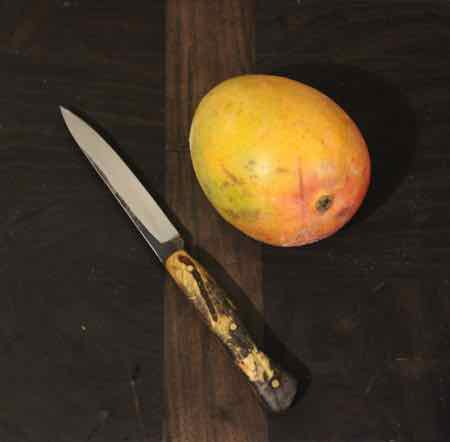
I had to try it.  Peeled and pitted mango went into the freezer.  But then life happened and it froze hard.  Lime and a bit of water.  Or for the next batch, a bit of lemon simple syrup because it is in the refrigerator and I need to use it up.  It was just wonderful!  And the grocery had these wonderfully large Australian mangos.  They might get some more and if the do we need and equal amount for eating fresh and eating as sorbet!  Mango just lends itself to becoming sorbet.  I wish more fruit did!

simplest mango sorbet

1 mango, peeled, pitted, and sliced

juice of one lime and up to a quarter cup water or about a quarter cup lemon simple syrup

Put the slice mango on a baking sheet that has been covered with parchment paper.  Put in the freezer and let freeze.  The harder the mango freezes, the more liquid you will need to make it smooth.

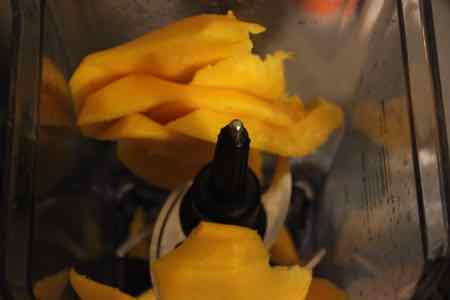
Once frozen, put all the mango pieces in a blender.  Cover and start to blend.  If using the lime juice, add the lime juice here.  Add about a quarter cup of water or lemon simple syrup and blend until sorbet in consistency.  If you need to add more fluid do but go gently.

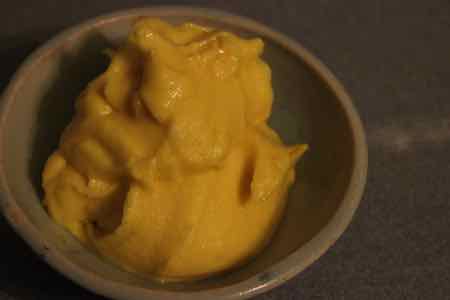
Scoop into a bowl and watch disappear.

I used wonderful in the description of this post a lot because this sorbet tastes so decadent!  But it is not even bad for you.  It tastes like it should though.

Thursday
Jan072016

bread pudding because I could not see croissants go to waste

This Christmas there seemed to be a lot of talking about Moms going on.  Part of that was the elusive hunt for the sour cream raisin pie.  And it was the first Christmas without my Grandma, my Mom's Mom.  My Dad's Mom was one of those cooks who never measured anything.  I get given a lot of crap for doing the same.

Finishing off the book portion of the Christmas shopping, my Mom took us to her favorite bookstore.  I could have spent all day there!  New books.  Used books.  Places to sit and read.  Places to eat.  Library downstairs.  Yes, really.  

We had lunch there and the salad I had there actually was big enough to feed everyone salad for dinner after I ate off of it.  Both my Mom and I had croissants for dessert.  Her's was almond.  Mine was chocolate.  But these were large croissants and there was about half of each left over.

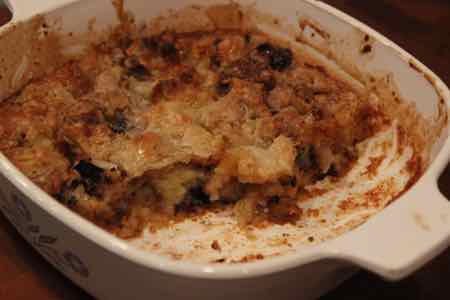
After they sat on the counter back at the house for a day, I decided it was time for bread pudding.  But then I pulled a Grandma.  I cut them up into bite sizes pieces.  I beat an egg.  I dumped in maybe a half cup of heaving whipping cream.  Mixed that with maybe a quarter cup of sugar.  A couple teaspoons of vanilla was added to the mixture and then the croissants were added.  I let that soak for a bit.

After the soaking, into an oven proof casserole and I baked at 350 degrees Fahrenheit for about 30 minutes or until there were golden crunchy corners.  I like golden crunchy corners and so does my Mom.  She nibbled on this for the next couple days.  She was still nibbling when we had to leave.

Sorry.  This is the closest to a recipe I can write down.  I am becoming my Dad's Mom.  But that is not a bad thing.  Either Grandma for that matter!  Both are missed.