Entries in recipe (502)

Saturday
Dec012018

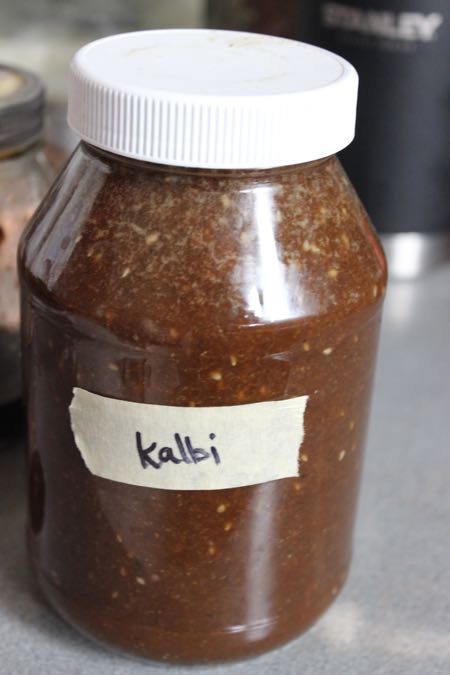
kalbi

A while back, the boyos worked with a Chef who sent them spices and marinades for knife work.  They thought it was a wonderful trade because lunch is made every day.  Usually something meat based.

One of the marinades that was sent was kalbi.  Kalbi is a Korean barbecue sauce.  Or at least that is what my research told me as well as the boyos.  That does not mean the boyos really use it that way.  They use it as the sauce on their rice bowls a lot!

The problem is they were running out.  I got asked to make them some more.  I was a bit trepidatious.  The Chef who sent the marinade has good handle on flavors so I was a bit concerned.  The worse that could happen would be that they did not like this one!  I found a recipe online that was pretty simple and gave it a go with a few tweaks.  The boyos think it is better!

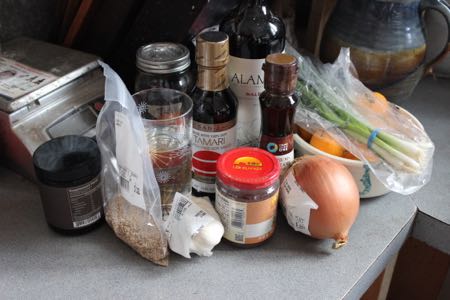
The hardest thing about this recipe was collecting all the ingredients.  Especially on a Saturday morning. I also have a good blender which one of the boyos sharpened the blades for me.  I do not look forward to washing it but it does a good job.
kalbi

Note:  I used Kimchimari's recipe as a starting spot with a few tweaks/more specific then are given with that recipe.

1/2 onion, peeled and roughly chopped

1/2 cup water

1 cup low sodium gluten free tamari sauce

1/2 cup malbec (I used Alamos)

1 cup sugar

8 to 10 garlic cloves

4 green onions, the ends removed and cleaned

4 tablespoons sesame oil

1 tablespoon unhulled sesame seeds

1 teaspoon ground black pepper

2 tablespoons plum sauce
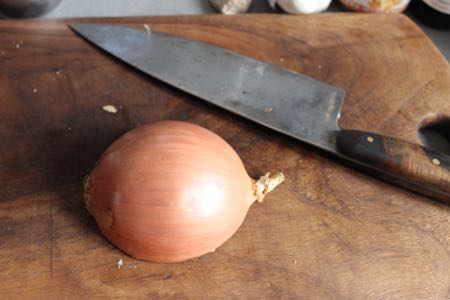
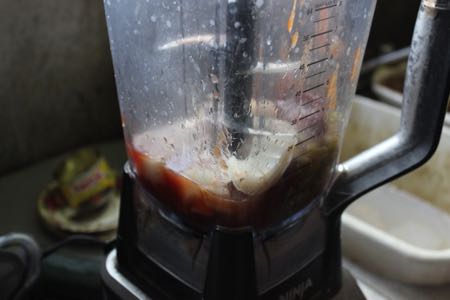
Peel and roughly chop half of one onion.  Put it in the blender container with a half a cup water and blend until smooth.

Once the onion is fairly smooth, add the soy sauce, wine, sugar, garlic, green onions, sesame oils, sesame seeds, ground pepper, and plum sauce.  Blend well between each addition.  The blender probably ran for close to 15 minutes.

This fit in a quart jar and I am storing it in the refrigerator.

It is quite nice.

Thursday
Aug232018

poke bowl

I was curious about what a poke bowl was when a poke bowl place opened three blocks away.  I went and tried one.  Then I decided to make them at home.  They are becoming a lunch standard.  Or maybe an early dinner.  Especially when I am coaching.  

Poke bowls purchased out taste a lot like sushi to me.  Made at home, I start with fish and rice then add vegetables, fruits, and sauces.  Even occasionally a Mexican feel.  Which I know is not standard but works.

The bowls usually start with rice.  Either sushi rice or indian rice.  I set a cast iron fry pan on medium with a couple tablespoons of butter in it.  I let the butter melt.  I sprinkle a couple of tablespoons of miso sauce over the rice as it cooks.  (The miso sauce recipe is below)  I add the rice and let it heat until crispies are created.  It takes about 15 to 20 minutes.  The crispy bits add a nice texture.

I usually add fish.  I normally use canned fish because it is easy.  It is hard to find sushi grade fish.  Canned fish I can doctor and it is already cooked.  Mussels and scallops usually end up in the bowl. 

Canned tuna and salmon I usually doctor.  I add a couple tablespoons of skyr to moisten the fish instead of mayonnaise.  That way if the bowls are stuck in a back pack for later, the bowl has less chance to go bad.  I also add a teaspoon of soy sauce and a teaspoon of wasabi.  Then a couple of tablespoons of fish on the rice.

At this point, avocado, cucumber, mango, or pineapple can be added.  Or jalapeno.  Or any type of vegetable or fruit that may sound be good.

Soy sauce or ume can be added now to season the bowl.  I have been making a miso sauce that I found for yaki onigiri which is a rice ball.  That is really what started me down this road.  I use the miso sauce when I heat the rice and as a topping.  It is tasty.

Poke bowls are really an experimentation.  Play with them.  Koda Bear also likes the rice with an egg on top instead of fish or veg.  Anything goes.  But use the miso sauce below.  It is worth it.

miso sauce

Note:  This is a sauce I found for yaki onigir made by Bake Street.  It is a lovely sauce.  I have used multiple types of miso and vinegar.  All give a lovely flavor. 

1/2 tablespoon white miso paste (I have also used red)

1 teaspoon Mirin (or a sweet vinegar)

1 teaspoon sake

3/4 teaspoon sugar

1 teaspoon water

Mix all in a bowl.  Use on the rice and the bowl.


Saturday
Jul282018

skyr

I picked up an Icelandic cookbook from the library, North.  Huge mistake because now I wish to go see it even more then I did before!  Iceland, Greenland, Finland, Norway, New Zealand, Chile.  These are all places that I would wish to see some day.  I will slowly get there.

I did have a couple things that I wished to try from this cookbook.  One of those was skyr.  It is in the yogurt section of my grocery store but is not considered a yogurt.  It is considered a cheese.  I use it instead of mayonnaise for any sandwich or dressing I may be making for when food is taken out of the house.  I do not have to worry about refrigeration.  Or if I wish to make a poke bowl to go out.  Again, I do not have to worry.

I liked that you could use non-fat milk to make it and it did not seem as fussy as yogurt.  I did not have to make sure I saved some yogurt from the last batch I made to make it.  Or wait for the milk to cool down and hope I did not kill the starter.  This recipe was like if you have it, use it.  If you do not, do not.

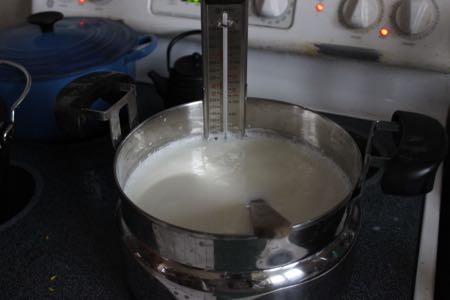
The one thing I would recommend is a good thermometer.  I had to go buy a new one since my last one was broken for me.  Also, good standing shoes.  Stirring goes on.

I like the flavor of the skyr.  It is a cheese.  The process works in my head.  It is just about patience which much of my life revolves around.  I have five forever shawls in the works currently.  Bread started.  Dye going.  It should just say what happens.

Just be patient.

skyr

Note:  I used the recipe from North.  I am fairly certain this does not stray too much from the traditional.  I did not have a non-stick pan like they suggested so I closely watched temperature and stirred constantly.

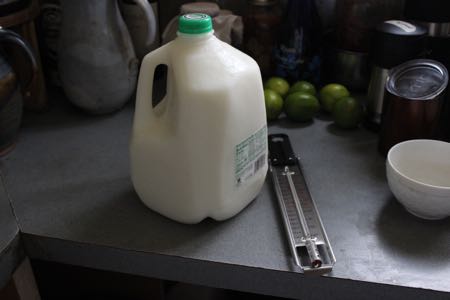
1 gallon non-fat milk

Pour the gallon of milk into a pan that it will fit in.  Put in a thermometer.  Turn the heat on med-low to medium.  Bring the milk up to 200 degrees Fahrenheit and let it remain there for ten minutes.  Stir the whole time.  You do not wish the milk to burn to the bottom of the pan.

Take the milk off the heat.  Let cool to 104 degrees Fahrenheit.  Put the milk in a place  to keep it warm for the next 16 to 24 hours.  Not much warmer then 104 degrees and it can cool over time.

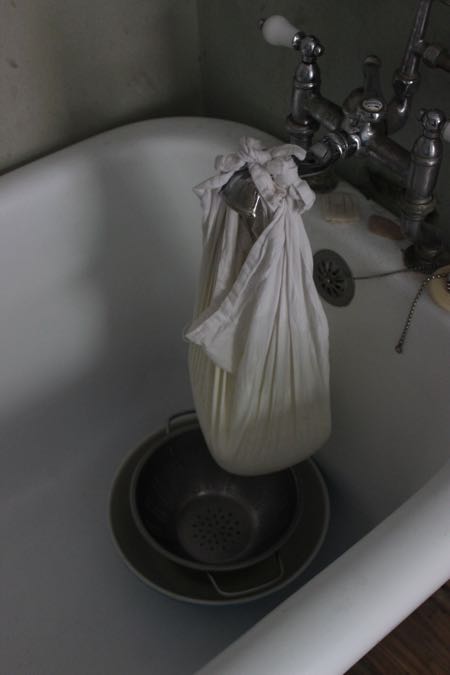
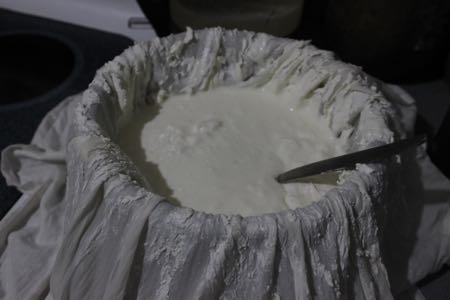
After the milk has sat for 16 to 24 hours, put a piece of muslin in a colander that is sitting in a bowl.  Pour the milk into the muslin.  Knot the muslin so it can be hung and whey can be strained off.  I use the whey in bread so I save every bit I can.

Strain until it is as thick as you wish.  I could have strained it more but the request was for a yogurt consistency.  Put into jars and put in the refrigerator.

I find it lovely.  You can save some to add to the next batch.  You add it when you have cooled the milk down to sit.  But you do not have to.  

Cheese.  Yogurt.  Who cares.  This process works better in my head.

Thursday
Jul262018

barbacoa

Food has been interesting.  Winter and spring it was all about meat and tacos.  How many tacos can be eaten?  If the meat has been made, how much can used on salads?  Until it got hot, this was what was happening.  Now it is poke bowls.  My expectation is that tacos will be requested again as soon as the the heat subsides a little bit.  

I am also going to share how I make poke bowls but that is another group of recipes that gets combined.  Yes, more making the things to make the things!

Barbacoa.  It is a favorite going out.  Many places though only make it for weekends because it has a long marinating time.  Which was one of the main reasons I wanted to be able to make it at home.  Then, I can have it any time I have the pennies for beef.  I say that because I have seen a rise in grocery prices.  I save every receipt and track it.  It is a great motivator not to eat out and eat a few more vegetarian dishes.

I did some looking and pondering.  Definitely something I could make in the slow cooker which is always a plus.  The longer the better because then it could shred so very easily.  In the end, there were tacos.  I also have to admit that I was asked for a meat based pasta sauce and I used this beef as a starting spot.  The meld of the Mexican and Italian was lovely!

barbacoa

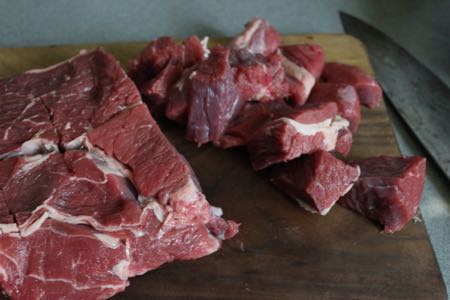
3 lbs chuck roast, cut into chunks and trimmed

4 cloves garlic

2 chipotles in adobo sauce

1 (4-ounce) can chopped green chiles

1 small white onion, coarsely chopped

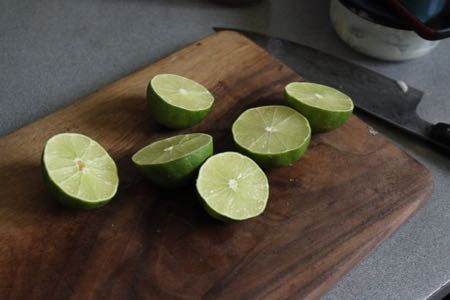
1/4 cup lime juice (about 3 limes)

2 tablespoons apple cider vinegar

3 bay leaves

1 tablespoon ground cumin

1 tablespoon dried Mexican oregano

2 teaspoons salt

1 teaspoon black pepper

1/4 tsp ground cloves

1/2 cup vegetable broth or water

Pull out the slow cooker.  Put the meat into it.  

In a blender, put the rest of the ingredients except the bay leaves.  Blend.  I blended for a couple of minutes because I wished more of a sauce but if you like chunks, you do not have to blend as long.

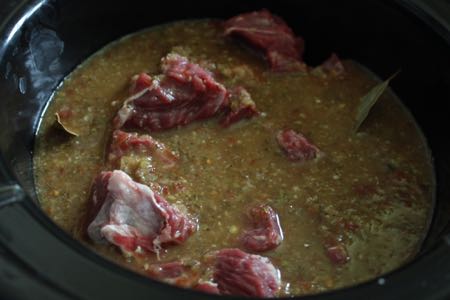
Pour the sauce over the meat.  Add the bay leaves.  Cover and cook on low for twelve hours.  The meat should be able to shredded with spoons.

It is very simple to make.  It just takes time and bellies around here were very happy.  Not so happy to wait for it to be done once it could be smelled.  When it gets cooler, I know this will be back into the rotation.

Tuesday
Jul032018

pineapple salsa

I feel like this is an never ending dish, tacos al pastor.  Not really but the bits make a difference.  Fresh bits make even more of a difference.  The last thing that needs to be made is a pineapple salsa to top the taco.  It just adds a bit of sweet and hot.  Just finishes it.  And then you can also use the rest of the salsa on other tacos if you have eaten all the pastor.

pineapple salsa

1/2 pineapple, cored and chopped into small pieces

1/2 minced onion (I used what I had which was a yellow onion but the original recipe called for a purple)

1 or 2 habanero chiles, minced (2 is pushing the heat factor)

juice of one lime

a handful of mint, chopped (I picked mine from the garden.  Do not use the mint.  It brightens the flavor)

In a bowl, mix the pineapple, onion, chile, lime juice, and mint.  Mix well.  If you really think it needs it, add a sprinkle of salt.

Scoop on top of tacos.  

It is really that simple but it just adds a nice bit of flavor.  Brightness and heat.  

I had to write it down somewhere!